More and more gamers are choosing to build their own gaming PCs nowadays. This method is not only cheaper overall but it also gives you the chance to customize your own PC to specific gaming needs. But, where do you even begin? No worries, we’ve put together this ultimate guide for how to build a gaming PC for you.
Why Build a Gaming PC Instead of just Buying One?
building or buying your gaming PC all comes down to your personal preference or your budget. Each method has its own pros and cons.
Building your own PC can be cheaper, more rewarding, and offers additional customization. On the other hand, buying a gaming PC is quicker, easier, and generally more reliable. So, have you made up your mind?
Yes, we love building PCs and recommend doing so as much as possible. However, if you aren’t comfortable doing it yourself, don’t feel bad about buying one.
Pros & Cons of Building Gaming PC
| Pros | Cons |
| Customizable Cheaper Easier To Upgrade Hardware | Not Pre-Tested Time Consuming No Customer Support or Warranty |
Choosing Your Budget & Understanding Your Needs
Component prices can vary dramatically depending on what you want from your PC. So, you’ll need to think about what level you want your PC to be.
| PC Level | Estimated Budget |
| Entry-Level | $300 – $600 |
| Mid-Level | $600 – $1000 |
| High-End | $1000+ |
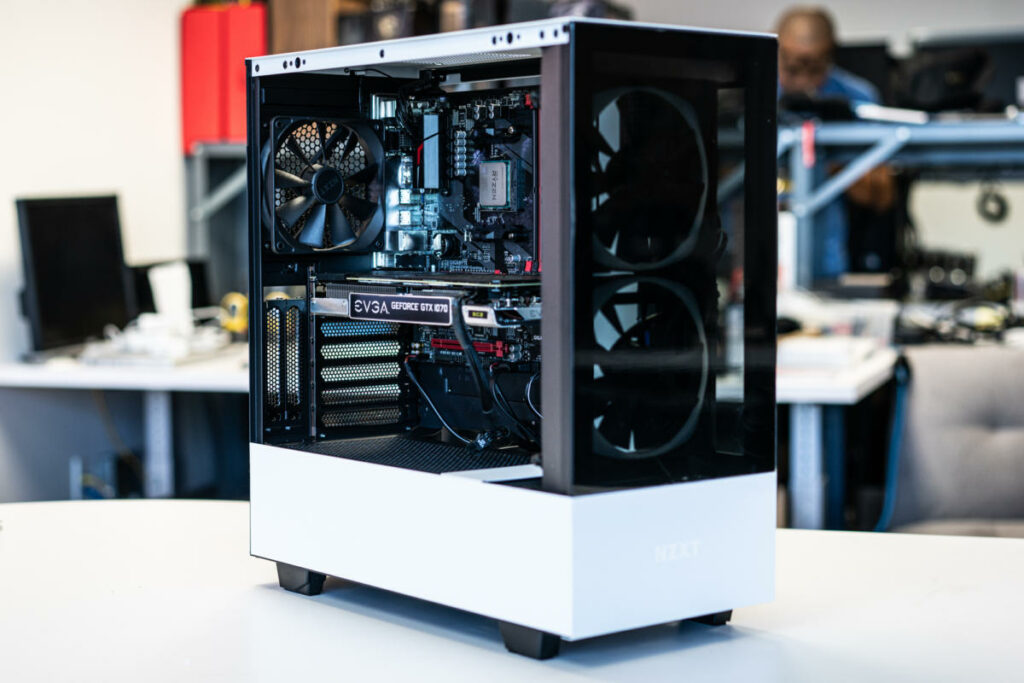
What Hardware Do You Need To Build A PC?
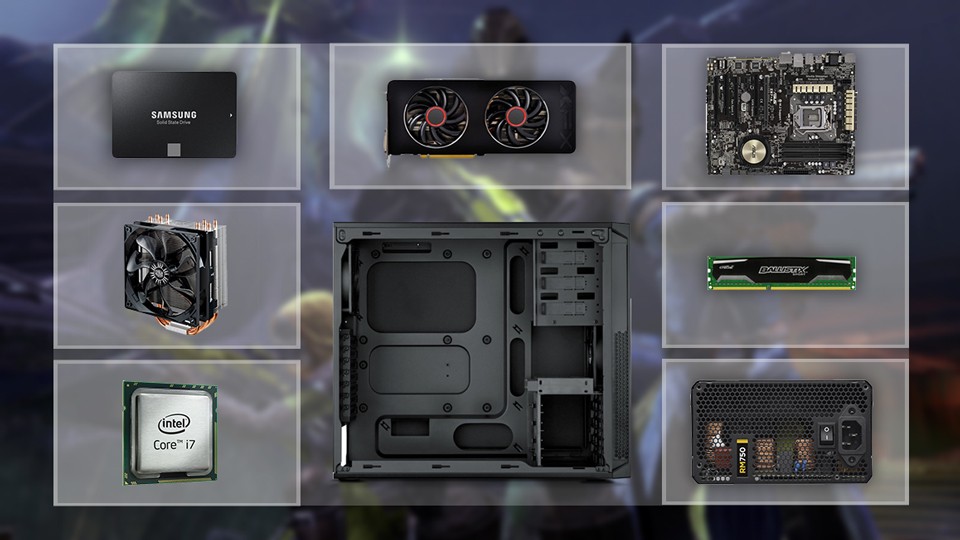
Processor (CPU)
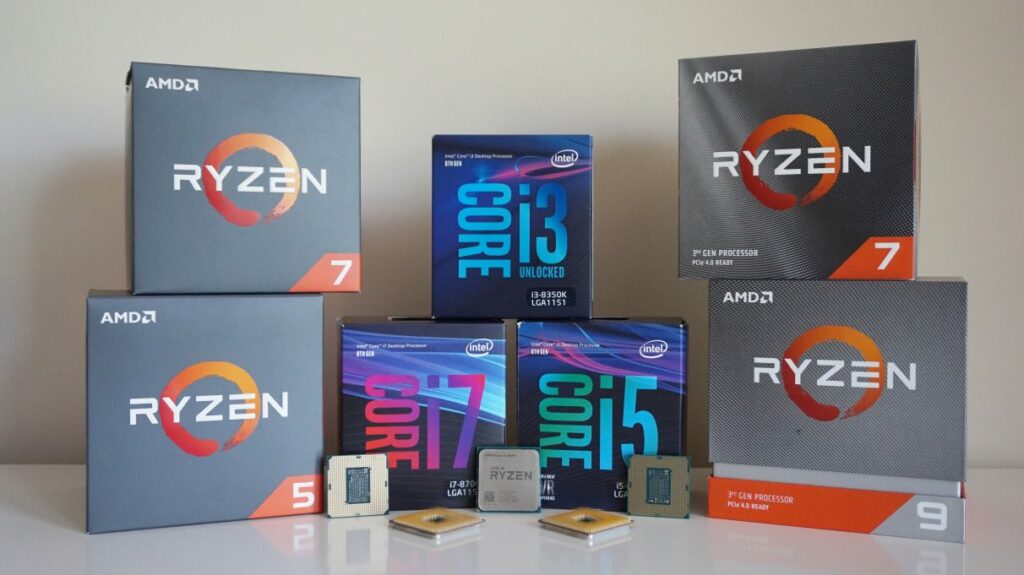
The three most important things to know about a processor are clock speed, cores, and threads. To ensure you get the best performance and to future-proof your setup, you’ll want to buy the most up-to-date CPU your budget can afford.
Meanwhile, AMD processors are known for their strong multi-core performance and affordability, making them excellent for multitasking and heavy load tasks. Here is our list of the best gaming processors at a glance:
1. AMD Ryzen 9 5900X ($549)
2. AMD Ryzen 7 5800X ($669)
3. AMD Ryzen 5 3600X ($397)
4. AMD Ryzen 3 3100X ($189)
Motherboard (MOBO)
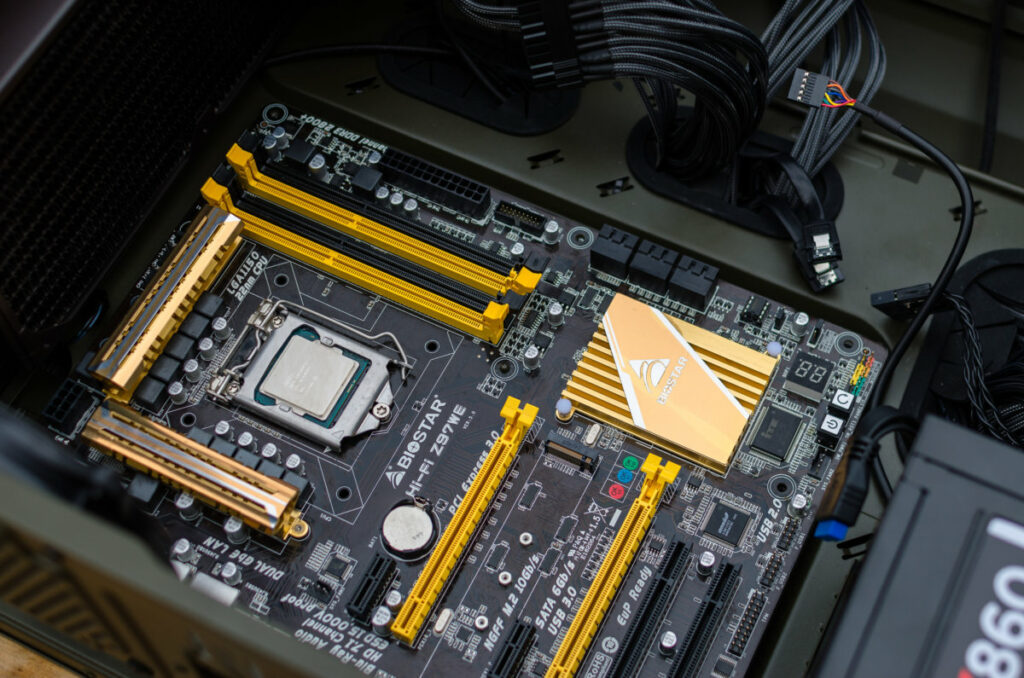
After picking a processor to buy, now you need a compatible motherboard. When looking at motherboards, the key difference between the low and high-end one is usually overclocking abilities and premium features. Here are our suggestions:
- With Intel CPUs, you’ll need a K-series processor and a Z-series motherboard.
- With AMD CPUs, all their processors are overclockable. But, you will need a B- or X-series motherboard.
The common motherboard sizes for a gaming PC are generally: ATX, MATX, or ITX (ITX is the smallest, ATX is the biggest). Because ITX-sized motherboards tend to be more expensive. So, if you are on a budget, try aiming for ATX or MATX sizes, in which most mid-tower cases will fit.
Also, a motherboard doesn’t need to be fancy. Therefore, our recommended choices are ASRock ($119.99), Gigabyte ($84.99), and MSI ($105).
Graphics Card (GPU)
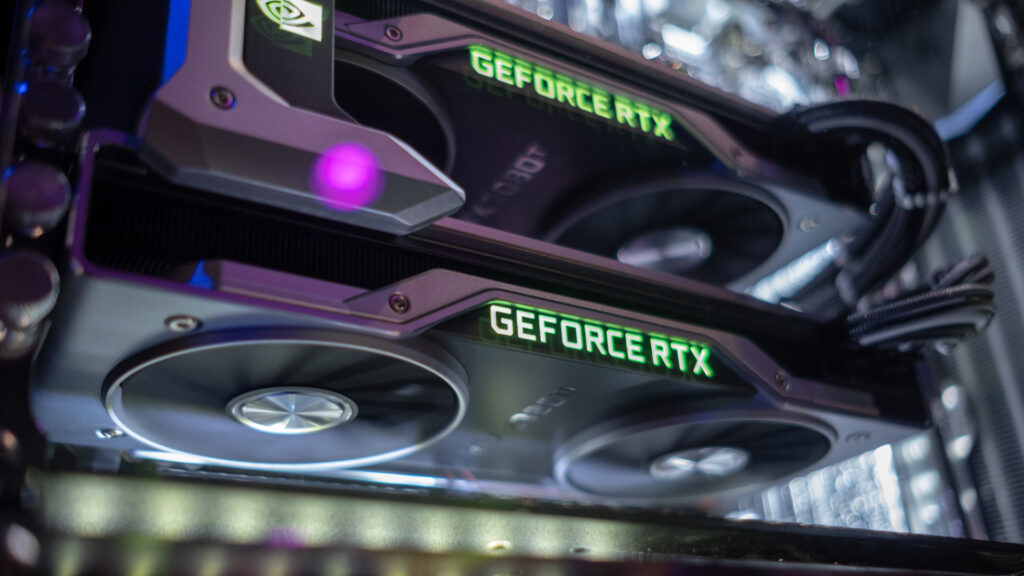
The GPU is one of the most important components in a gaming computer. Basically, GDDR5 is the old standard and still exists in a lot of entry-level/ budget GPUs. So, don’t grab any GPU that is lower than this! Meanwhile, GDDR6 is the new version and features the latest AMD and Nvidia cards.
- 4GB GPU will give you decent performance in 1080p resolution with standard-definition textures
- At 6GB, expect decent performance in 1440p, or 1080p resolutions with high-definition textures
- At 8GB+, it promises good performance in VR titles, 4K, and 1440p resolutions with high-definition textures.
| GPU | Performance | Value (fps/$) |
|---|---|---|
| RTX 3090 | 152.7 fps | $1,499 |
| RX 6800 XT | 142.3 fps | $649 |
| RTX 3080 | 142.1 fps | $699 |
| RTX 3060 Ti | 106.3 fps | $399 |
| RTX 3070 | 116.6 fps | $499 |
| RX 6800 | 127.3 fps | $579 |
| RX 5600 XT | 71.1 fps | $279 |
| GTX 1660 Super | 57.9 fps | $239 |
| GTX 1650 Super | 43.5 fps | $179 |
Memory (RAM)
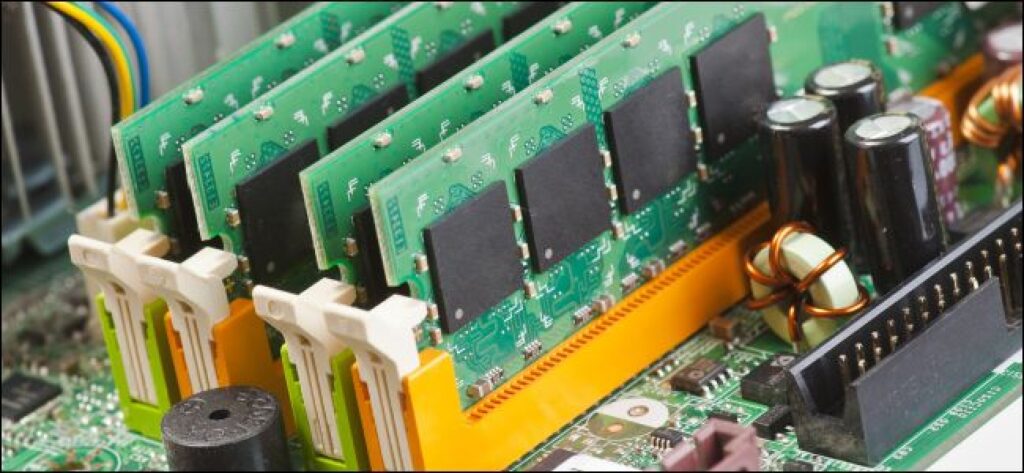
It is important to know that you should always aim for dual-channel memory. Generally speaking, the more RAM you have, the better the system will be at running when it comes to handling multiple apps and loading intensive games.
- 4GB – This is the bare minimum amount of RAM. 4GB would only be suitable for basic computing tasks and light gaming.
- 8GB – While this works fine for just gaming, multitasking may be a bit of a problem.
- 16GB – At the moment, this amount of RAM would be perfect.
- 32GB – This is more than you need for gaming. But, it’s still nice to have extra RAM.
Here are our choices for the best RAM in 2020:
- Corsair Vengeance LED ($185.59)
- Kingston HyperX Fury ($34.29)
- Corsair Dominator Platinum RGB ($189.99)
- HyperX Fury RGB 3733MHz ($34.29)
- G.Skill Trident Z RGB DC ($83.99)
Storage (SSD/HDD)
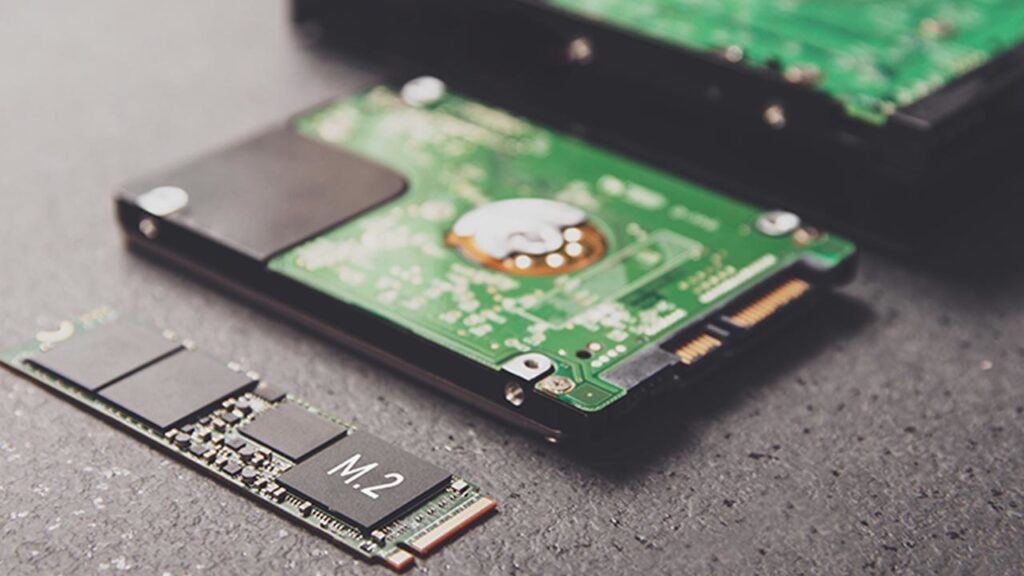
For top-quality storage, we suggest getting an SSD ($94.99–$129.99). It’s faster, more durable, and generally smaller. Besides, it is also a bit more expensive than an HDD ($37.99–$51). Additionally, HDDs do have the advantage of having more storage space.
Power Supply Unit (PSU)
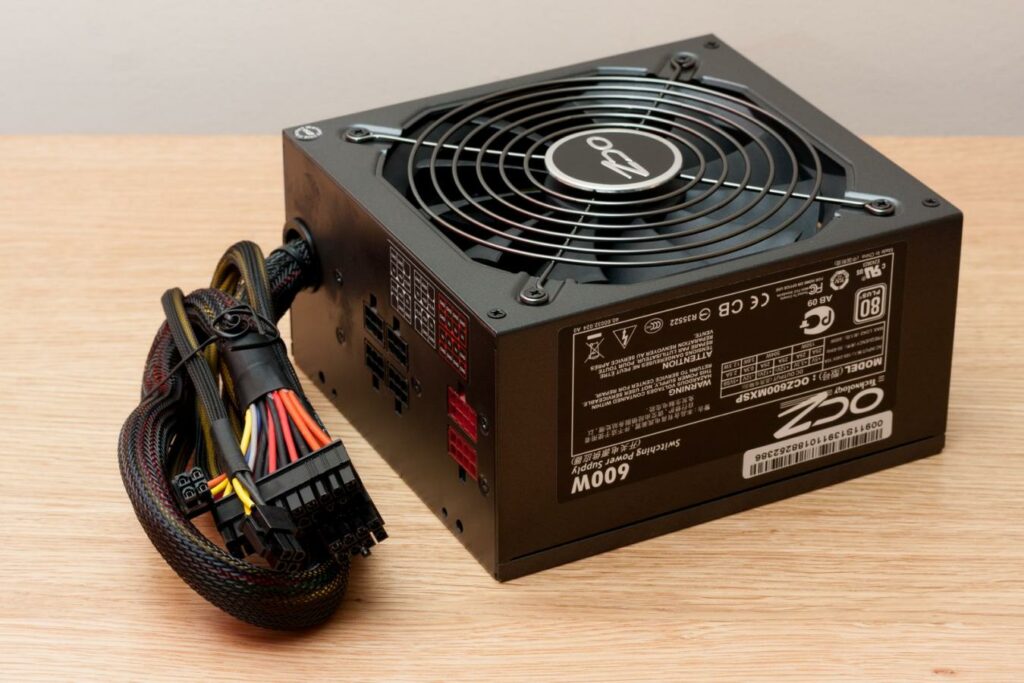
Stick with trustworthy brands such as Corsair, EVGA, and SeaSonic. Next, you are going to want to ensure you have enough wattage for your system. You can use tools such as a PSU calculator to determine what PSU to go for. The price for a Power Supply Unit (PSU) can range from $94.99 up to $712.
CPU Coolers
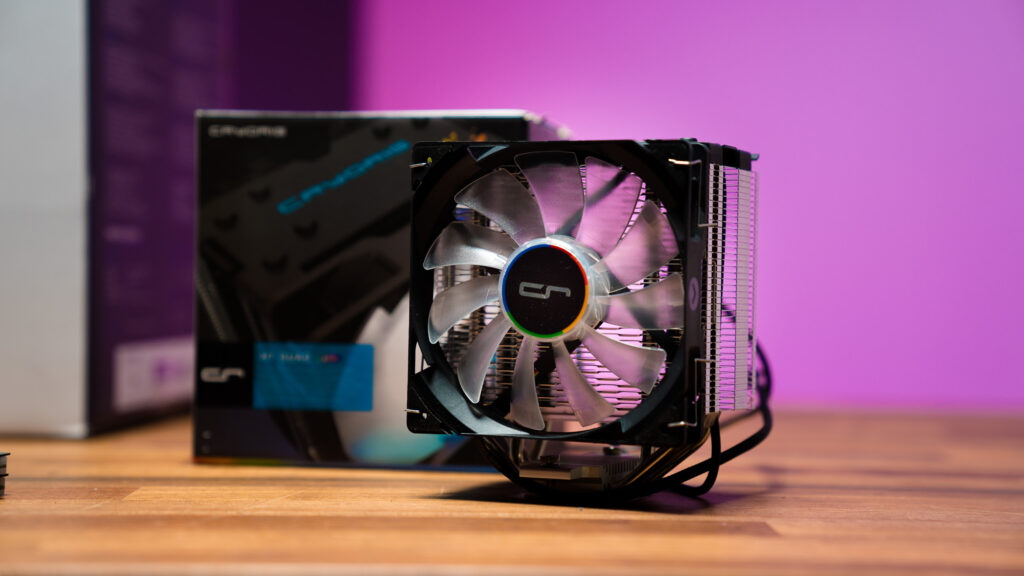
If you plan to play the most graphically demanding games and are concerned about overheating, it’s a good idea to invest in some extra case fans or liquid coolers.
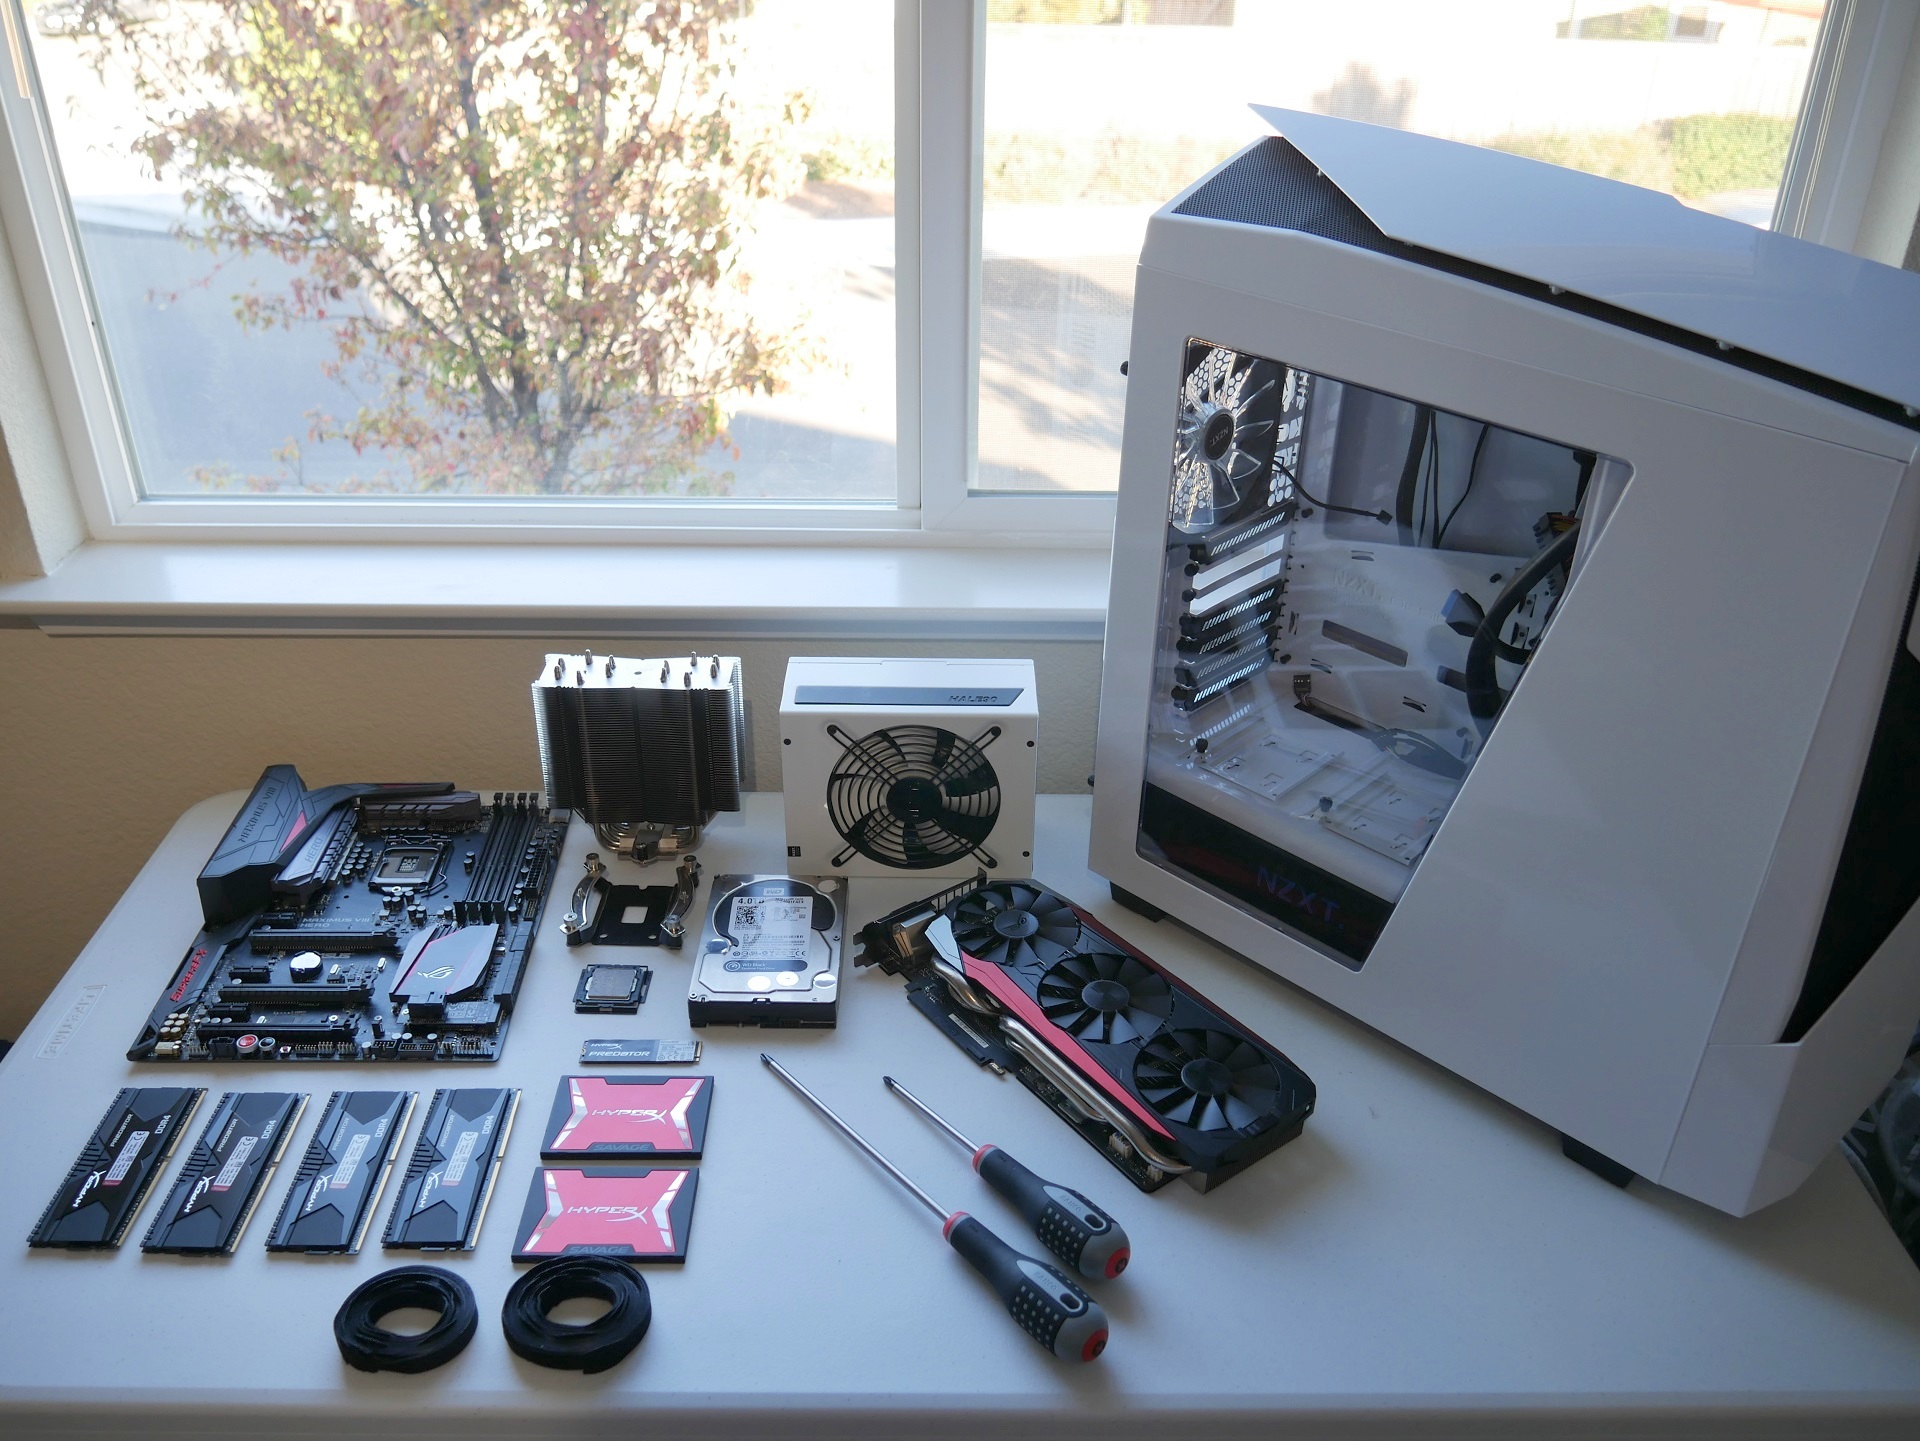
Step-by-Steps Guide of Assembling your Gaming PC
Organizing is key here! Setting up your workspace and making sure you’ve got the correct tools for the job. Here are the required tools to build a gaming PC:
- Phillips screwdriver
- Snips + cable ties
- Anti-static bracelet
- Thermal paste
- Isopropyl alcohol
- Paper towel/ lint-free cloth
Ready? Now, wash your hands, put on your gloves, and let’s get to work!
1. Prepare the Case
Remove the side panels to reveal the internal frame of your case. Inside, you will notice a small box or bag of screws, these will be needed for later, so set them aside.
Now, untie your cables out the back of the case, so they are loose and ready to go once the motherboard is installed. Finally, screw in the correct amount of standoff screws you need, depending on the form factor of your motherboard. Now, just set the PC case to one side.
2. Install Fans
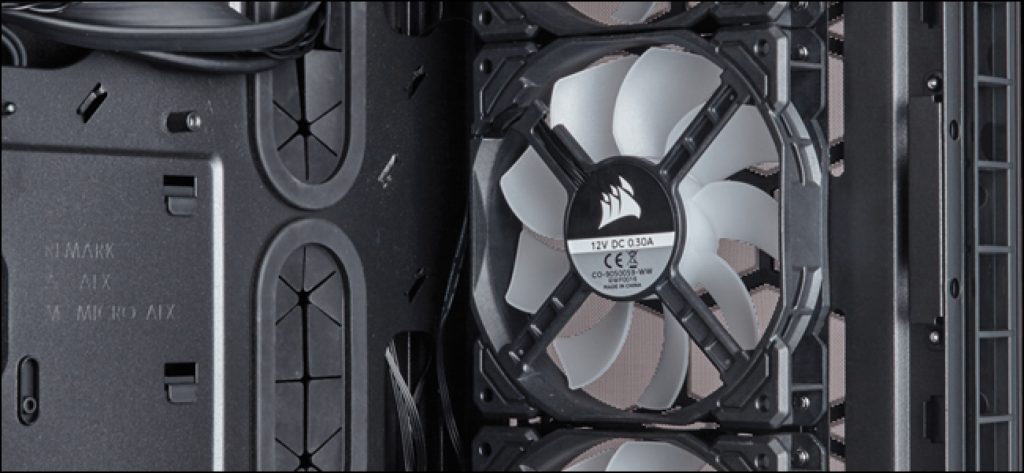
If you want to replace the case fans with some alternative options, simply screw them out. However, in order to get to the front fans out, you might need to take the whole front panel off.
On the new fans, you will notice a small arrow to show what direction the flow of air will travel. Next, line up the arrow depends on a push/pull configuration. Then, secure it in place with the screws that come with it. Finally, when it comes to wiring, most motherboards often have 3-5 fan headers dotted around for extra fans. So, you probably won’t have any trouble finding these.
Tips:
- Orient the fan to hide its cables more efficiently. You can run the cables out the back to help tidy up the inside of your build.
- The best setup would be two-fans at the front and one at the back.
3. Install the CPU
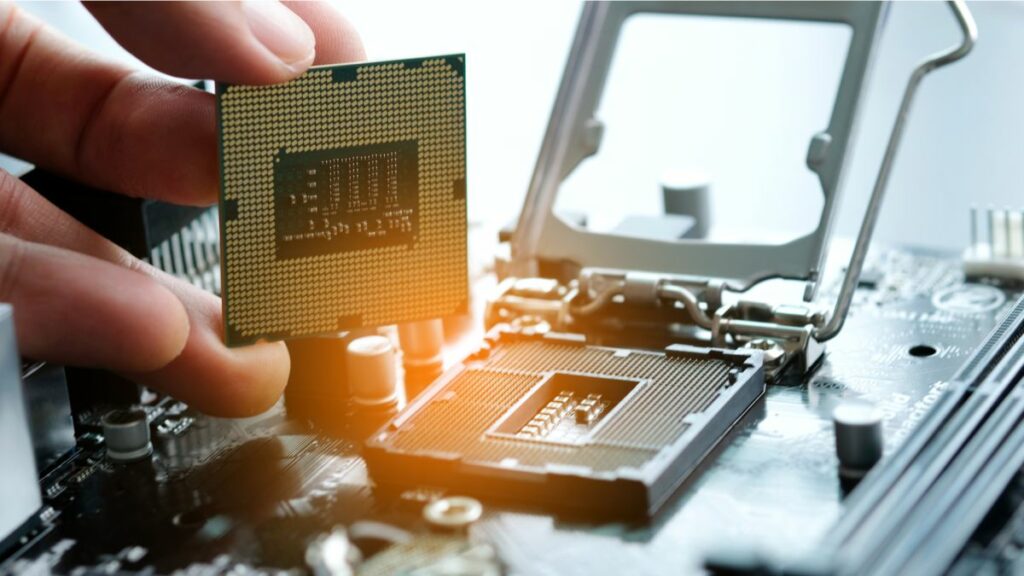
Find the CPU socket (usually near the top-middle of the board) and release the lever until it is upright on your motherboard. When the lever on both AMD and Intel boards is upright, then it is ready.
You will notice on your AMD/Intel CPU and motherboard a little arrow in the corner. This arrow indicates the position of your CPU and which direction to line up.
Next, place the CPU into the socket and give it a gentle nudge, if it doesn’t fall into place. Also, make sure the CPU is flush before lowering the lever down. With Intel-compatible motherboards, there will be a protective plastic over the socket and metal clasp, clip this back under the bolt. Now, it might look like the lever has a lot of tension. But, don’t worry, this is normal and the plastic shield will pop-off during installation.
Tips: When handling the CPU, be sure to hold it from the sides and avoid touching the top or bottom. Your CPU only fits into the socket one way!
4. Install RAM
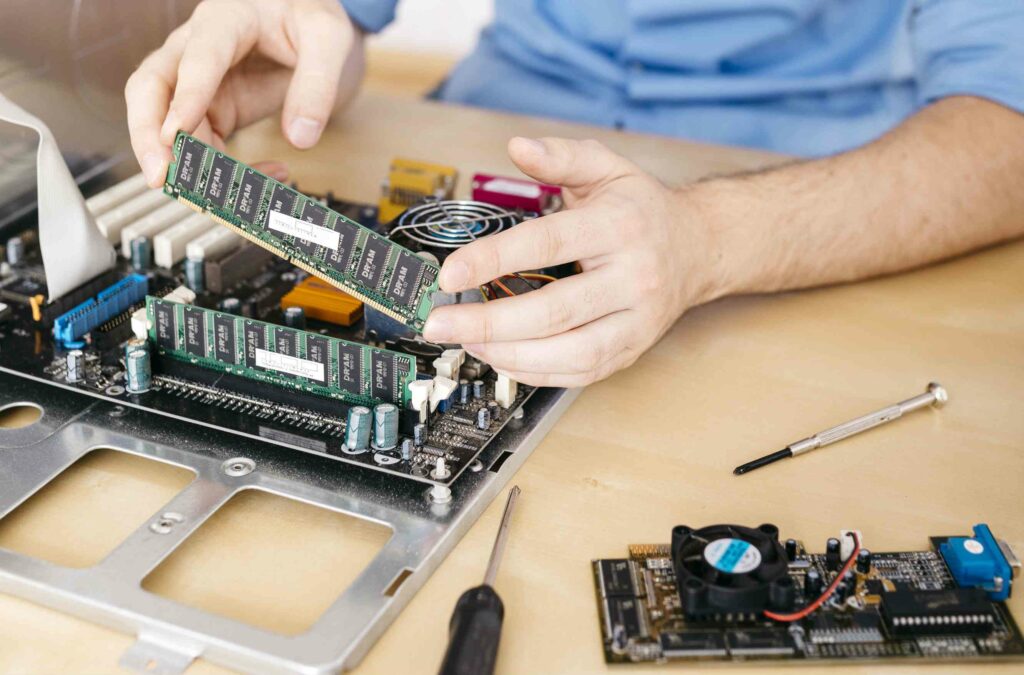
Actually, this process is quite simple and you can’t go wrong with it. Just make sure you line up the memory stick (only goes in one way) and push until you hear the click when filling up the available RAM slots on your motherboard. Also, remember to snap back the plastic bits on the end of each slot after doing this.
Note: At the end of the build, if you experience no display, it might be down to the RAM not being seated properly. In this case, turn your system off and double-check that the RAM has clicked into place!
5. Install the CPU Cooler
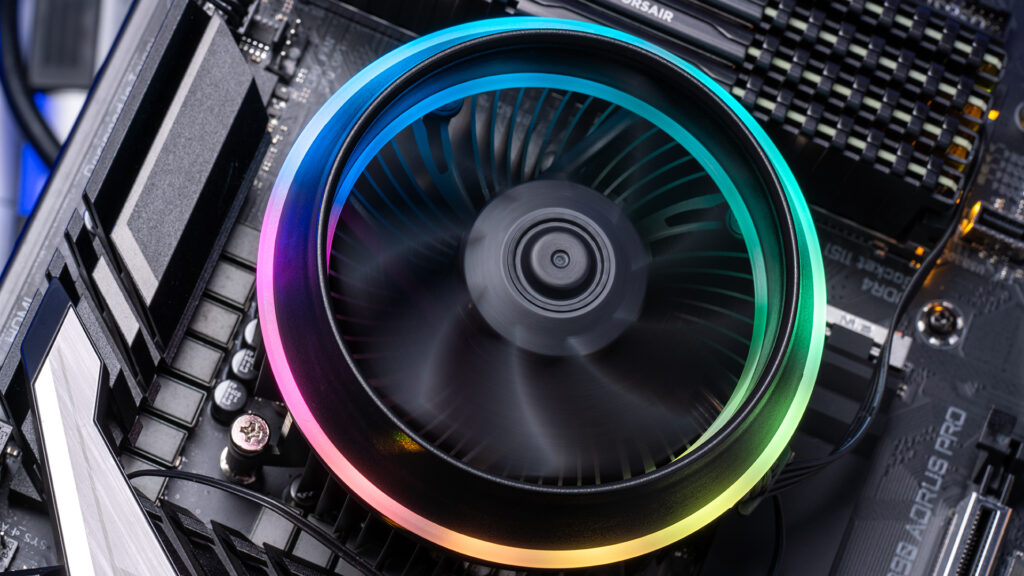
Whether you choose an AIO liquid cooler or an air cooler, they all feature different brackets and installation processes. Some motherboards come with the backplate pre-installed. But, for the most part, you will have to attach this.
Once the bracket is attached/replaced, check to see if the base of the cooler has thermal paste pre-applied (a thin grey layer) or not. Applying thermal paste if it isn’t. Then, go ahead and place your cooler onto the top of the CPU. Finally, line up the screw holes and screw the CPU cooler in place.
6. Install MOBO

Before screwing your motherboard into the case, clip your I/O shield into the cutout at the back of the PC case. Next, lay the case on its side and place the motherboard on top of the standoffs. Once aligned, screw the board into place.
Note: Don’t worry about connecting your front panel and PSU cables just yet, we will do that a little later on.
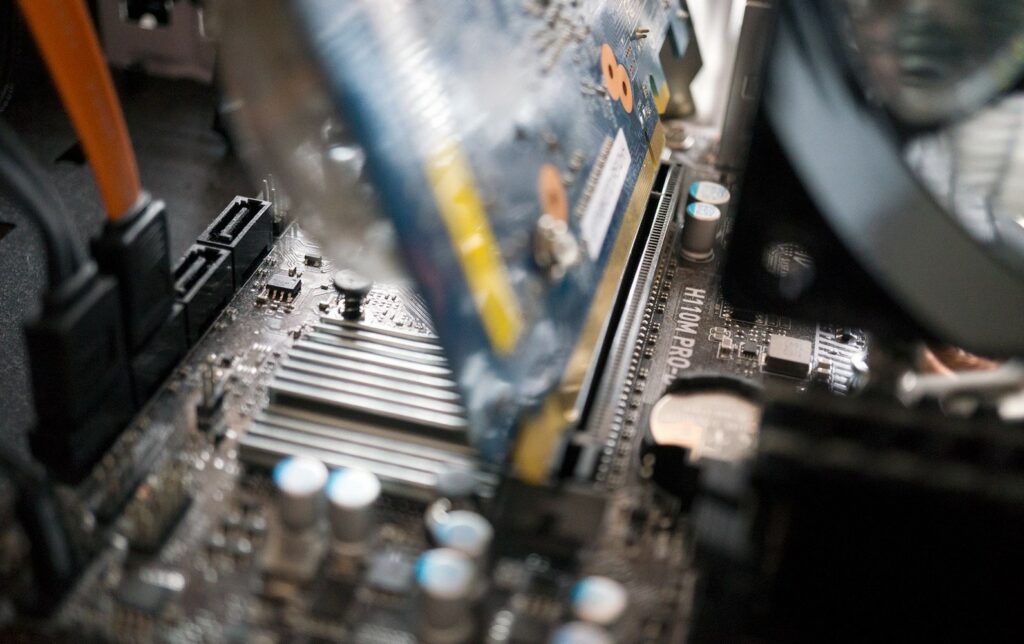
7. Install Storage (SSD/HDD)
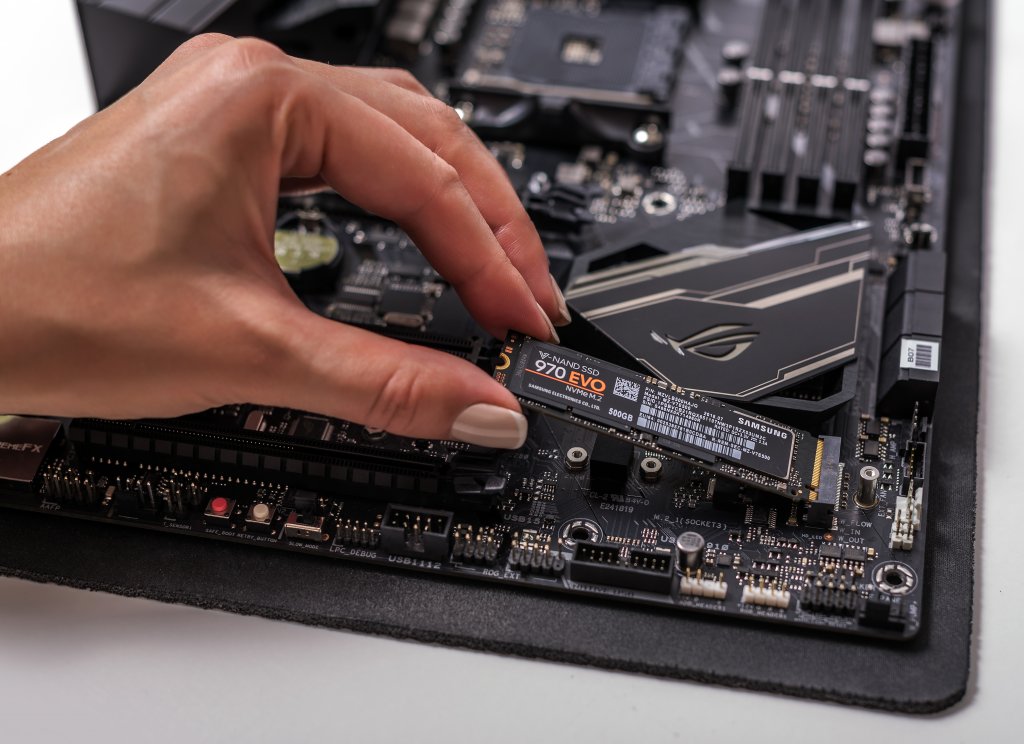
While some cases come with “tool-free” installation, others require you to screw the storage device into place.
Starting by removing the tray and lining up your storage device. You will want to orient the device with the SATA connectors, so it faces the back panel. Doing this will help you run the cables easier. Once aligned, screw into place and slide the tray back into the drive bay.
When everything is in place, you can connect the SATA cable that comes with your motherboard box to your storage device. Remember to run it through the back and into the motherboard.
8. Install Graphics Card (GPU)
Locate the PCIe x16 slot on your motherboard (usually at the top) to install your graphics cards. The amount of slots you use depends on the inside components.
Before installing, make sure that you’ve removed all plastic from the graphics cards. Next, remove the back metal covers for the expansion slots, so you can plug in your DisplayPort or HDMI cable. While metal covers will be screwed into mid or high-end cases, most budget cases require you to snap these out.
Next, push down on the retention clip on your motherboard’s PCIe slot. Then, slide the GPU in till you hear a click. When you put it into place, screw the GPU in securely.
9. Install The Power Supply (PSU)
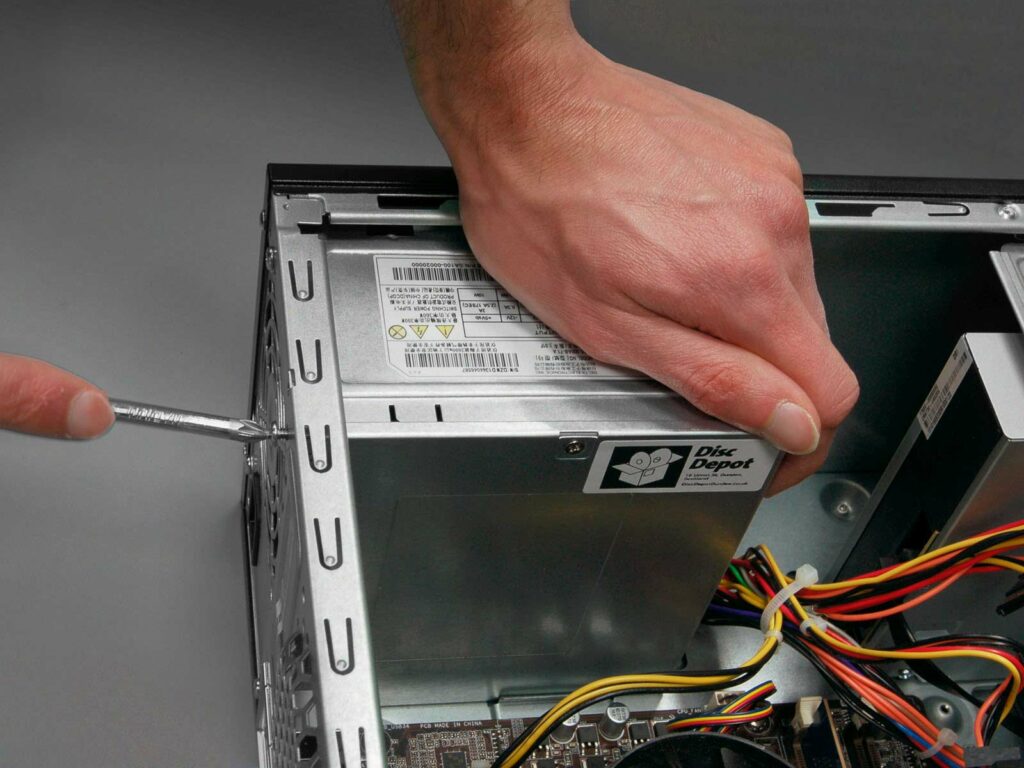
First, work out what cables you are going to need in your PC build. The PSU will usually have labels on everything to make this step a bit easier. Make sure you orient the PSU fan down if there is ventilation at the bottom or upwards if there is no ventilation. The PSU and your case will come with the required screws (4X), simply screw these into place.
10. Cable Up
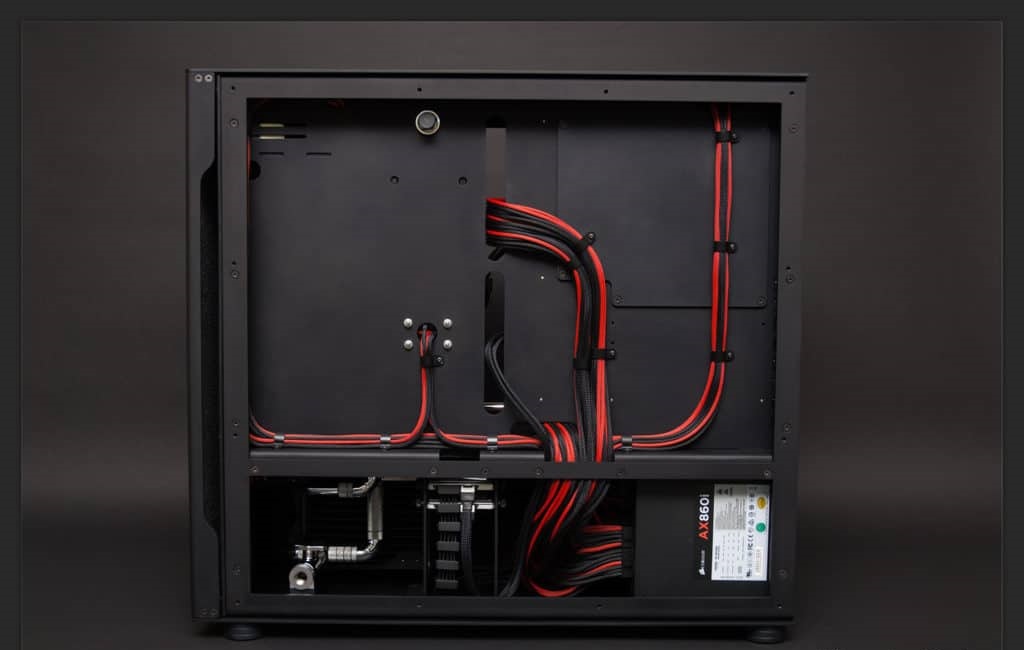
You will need to cable up the front panel of your case to the motherboard first. Make sure you have run your front panel cables out the back before starting.
Once I/O cables are located, wire them through the nearest cutout hole. Follow the diagram to connect the cables. When your front panel cables are all connected (PWR L.E.D, HDD L.E.D, PWR Switch, Reset Switch, USB, USB 3.0, HD Audio), then it is time to plug in power supply and test your new gaming PC.
Note: There is a small arrow underside each cable to indicate which pin is + (positive).
Congratulations, you just finished building your own gaming PC. Let us know if you have any questions for how to build a gaming PC in the comments!