
Samsung Galaxy J8 is a great mid-range smartphone with powerful enough specs and trending design. With the latest Android version installed out of box, you can experience great features of the new Samsung Experience UI. However, there a newly raising problem among Galaxy J8 users when some of them are stuck with Google Account verification due to unknown reasons. If you are in the same difficulty and are looking for solutions to FRP bypass Google account on your Galaxy J8, then this post is for you. I’m going to show you the best ways to bypass Google account on your phone. Let’s get started!
Solutions To FRP Bypass On Galaxy J8
Here are two temporary ways to bypass Google account on Samsung Galaxy J8. You can choose the best one that works for you.
Method 1: Flash Combination ROM
- The first step you need to do is downloading the combination ROM as well as the stock firmware for your Galaxy J8. You can download them from the link below.
Galaxy J8 2018 (SM-J810F)
- Combination:
- Full:
Galaxy J8 2018 (SM-J810G)
- Combination:
- Full:
Galaxy J8 2018 (SM-J810GF)
- Combination:
- Full:
Galaxy J8 2018 (SM-J810M)
- Combination:
- Full:
Galaxy J8 2018 (SM-J810Y)
- Combination:
- COMBINATION_FAC_FA80_J810YDXU2ASC1.rar (612M) | MaxSpeed | AFH | OneDrive | GDrive2
- COMBINATION_FAC_FA80_J810YDXU1ARF5.rar (613M) | MAX SPEED LINK
- Full:
- J810YDXU2BSD3_J810YOLM2BSD3_XXV_9.0_FULL.zip (2.9G) | MaxSpeed | AFH | OneDrive | GDrive2
- J810YDXU2ASC5_J810YOLM2ASC5_XXV_8.0_FULL.zip (2.8G) | MaxSpeed | AFH | OneDrive | GDrive2
- J810YDXU1ARF3_J810YOLM1ARF3_XXV_8.0_FULL.zip (2,7G) | MAX SPEED LINK
(thanks to vnrom.net)
- After downlaoding the file, unzip the files. Then, power your phone off and boot it into the Odin mode by pressing the Volume Down + Volume Up + Power keys together buttons at a same time. After you see a warning message, press the Volume Up button.
- Now, plug your J8 into the computer, launch Odin3.1.3 and choose the combination ROM file in AP box to flash it
- Now, click on Start to flash the combination Rom file
- Wait until the process to be done, your Galaxy J8 will boot up to the factory binary of the combination ROM.
- After that, tap on the Settings icon (9 dots in the square) and then enable OEM Unlocking& USB Debugging options in Developer Option
- After that, power your phone off and boot into Download Mode
- Now, reset Odin software to flash the Stock firmware. Since there are numbers of Galaxy J8 models, so you should download the exactly the firmware file with the model you are using. If not, your device will be stuck at the “Installing system update” screen and it can cause some errors like memory encryption. If the stock ROM files listed above are not for your model, you need to download the exact ROM file of your Galaxy J8
- From there, choose the BL box with BL_…. file, AP box with AP_…. file and especially, CSC box with Home_CSC… file. Don’t click on the CP
- Wait for a minute and click on Start button to flash the Stock firmware.
- When the process is completed, your device will automatically boot up and you simply finish the setup
- After that, head to Setting, factory reset your phone and enjoy the result.
Method 2: Use Bypass APK file to remove Google Account
- From the setup screen, connect your Galaxy J8 to a Wi-Fi network
- Prepare a SIM card with a PIN code that was previously created.
- Place it into your Galaxy J8 and then gently push the SIM card tray out. Do it a few times until your phone is on the lock screen.
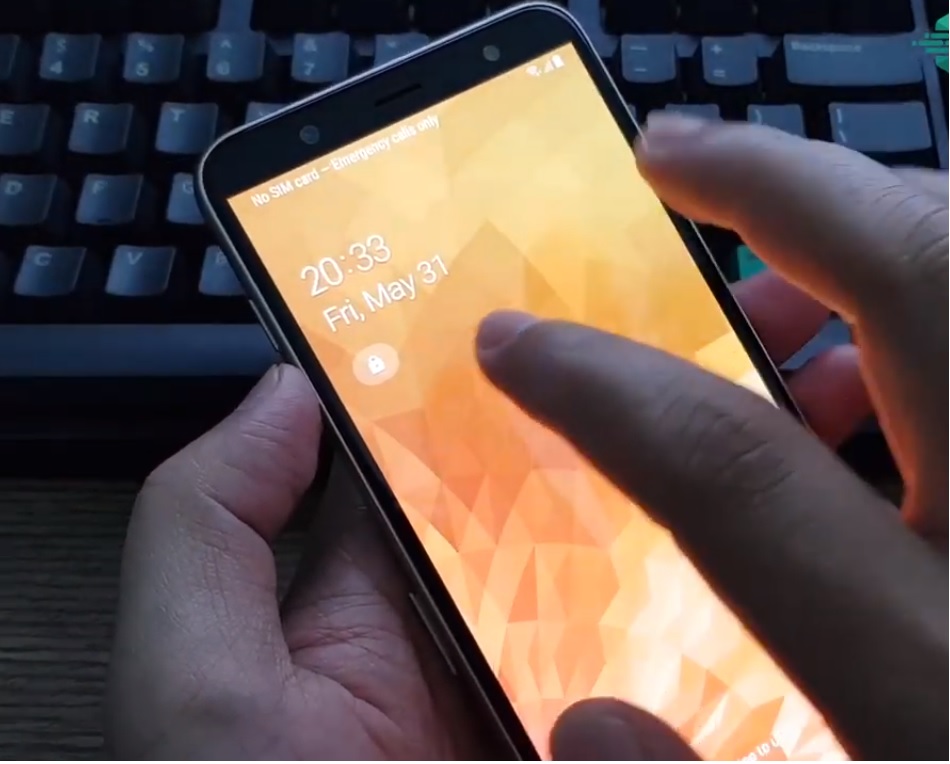
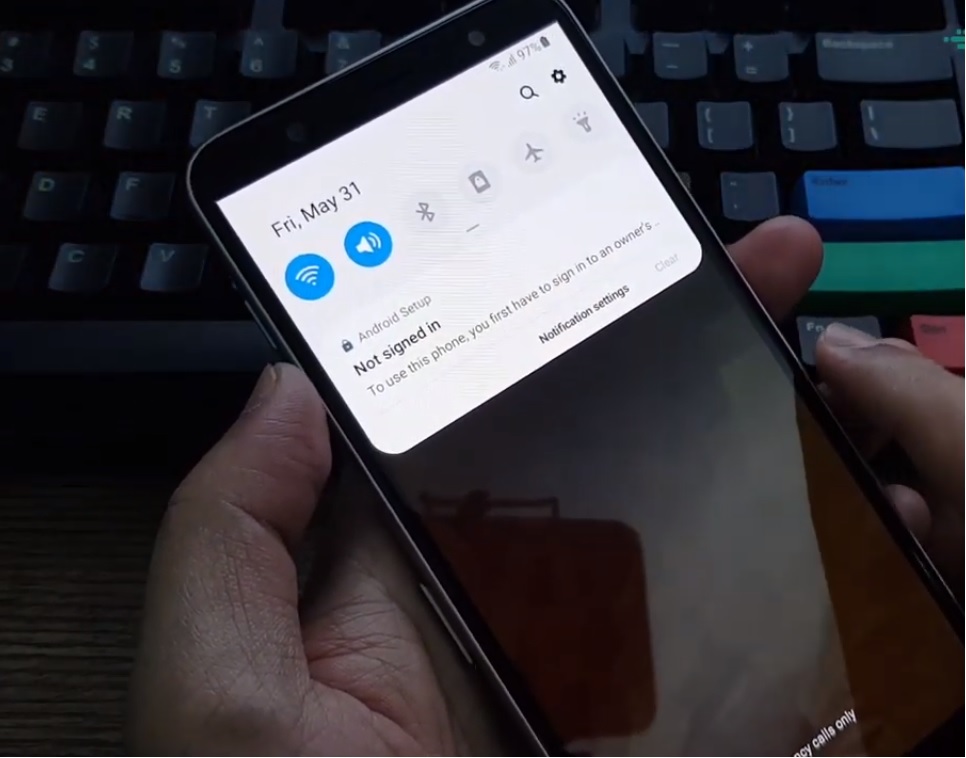
- Drag the lock icon to the right to open Notification bar.
- Tap on the Notification Settings button
- Choose See All button under Play Store.
- Change from Most Recent to All. Scroll all the way until you see YouTube app.
- Tap on it and choose In-app notification settings > About > Google Privacy Policy
- Now, the process is much simpler. Your Galaxy J8 will open Chrome browser. Tap on No, thanks to open the Search engine.
- Now, type this URL into the browser: bit.ly/techzai to download and install Apex Launcher 3.3.3. Remember to allow this source option.
- Once done, open it and you are now on the home screen. Open Chrome again and download two files: Bypass_FRP 1.0.apk and Bypass Android 8.apk
- Now, head to File app > Download folder and install Bypass Android 8.apk first.
- Continue to install Bypass_FRP 1.0.apk. Once done, launch it and then tap on three-dot button and select Browse sign-in option
- From there, enter any Google Account you remember the password. Once done, reboot your Galaxy J8 phone.
That’s done! You have successfully bypassed Google account on your Galaxy phone. If you have any question, let’s know in the comment below.


thank you techzai for the stock firmwares. helped me a lot.
thank you so much! bro