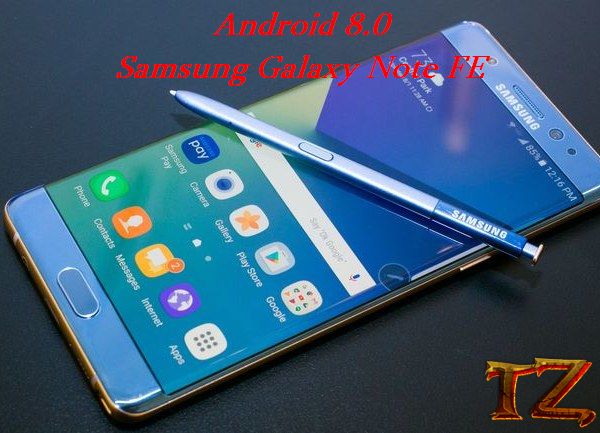
After releasing the stock Android 8.0 update for Galaxy S7 and S7 Edge, the next device has the honor to get the Android 8.0 Oreo is Galaxy Note FE. That’s not a fake news! Samsung has been rolling out the update to all Galaxy Note devices. If you have a Galaxy Note FE phone and it’s running the Android 7.1.1 Nougat, then you can update it to Android Oreo through OTA. However, if you have not received any notification update yet, then you can follow this post to update your phone using Odin tool.
Device Supported:
- Galaxy Note FE N935F
- Galaxy Note FE N935S
- Galaxy Note FE N935L
- Galaxy Note FE N935K
Features:
- Update the latest Samsung Experience 9.0
- Stable, fix fast battery drain from Android 7 Nougat
- Optimized multitasking interface with shape or list options
- Add edge screen effect
- Add more features for Always On Display
- Other changes and improvements
Before proceeding, you should meet some requirements first:
- Back up all data on your Galaxy Note FE since the process might delete the data
- Go to Settings > Account and log out your Google account as well as Samsung account. This step is very important because your phone will be stuck at the “verify Google account” screen when setting up for the first time.
- Keep your phone’s battery at least 30% to avoid unwanted issues
Also read: Stock Android 8.0 For Samsung Galaxy A3, A5, A7 2017
How To Update Galaxy Note FE To Android 8.0
- Download and install Samsung USB driver on your computer
- Download and extract the Odin v3.13.1
- Get the Android 8.0 ROM for your device
N935F: N935FXXU2BRD4_OLB_N935FOLB2BRD4
N935S: N935SKSU3BRD5_N935SSKC3BRD5
N935L: N935LKLU3BRD5_N935LLUC3BRD5
N935K: N935KKKU3BRD5_N935KKTC3BRD5
- Power your phone off and boot it into the Download by pressing the combination keys: Vol Down + Home + Power. Once you see the warning screen, just press the Vol Up button
- Connect your Galaxy Note FE to the computer and launch Odin. If the ID:COM is blue, it means the connection is successful
- Click on the AP button and browse to the folder containing the Android 8.0 firmware
- Click on Start button and wait for about 5-10 minutes. Once done, your phone will automatically boot up the Welcome screen.
You have successfully updated your Galaxy Note FE to Android 8.0 Oreo. If you have any trouble, let’s know in the comment below.


